

Video about KNAX
Help to make installation easy and info about the brand.


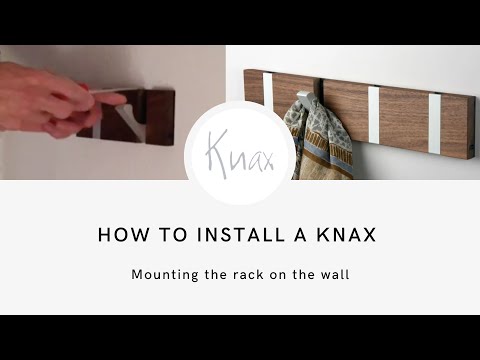


How to Install KNAX
In this video, we will show you how to install KNAX Coat Rack in four easy steps. You also find out video about the brand.
# Step 1: Gather Your Tools
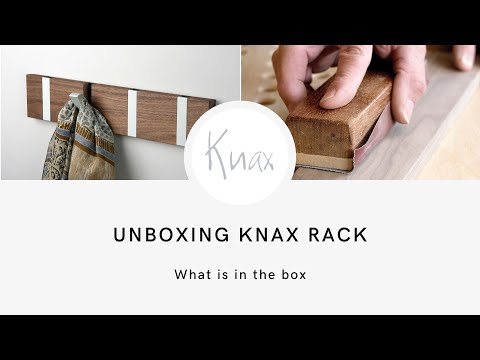
Before starting your installation, make sure to gather all the necessary tools. You will need:
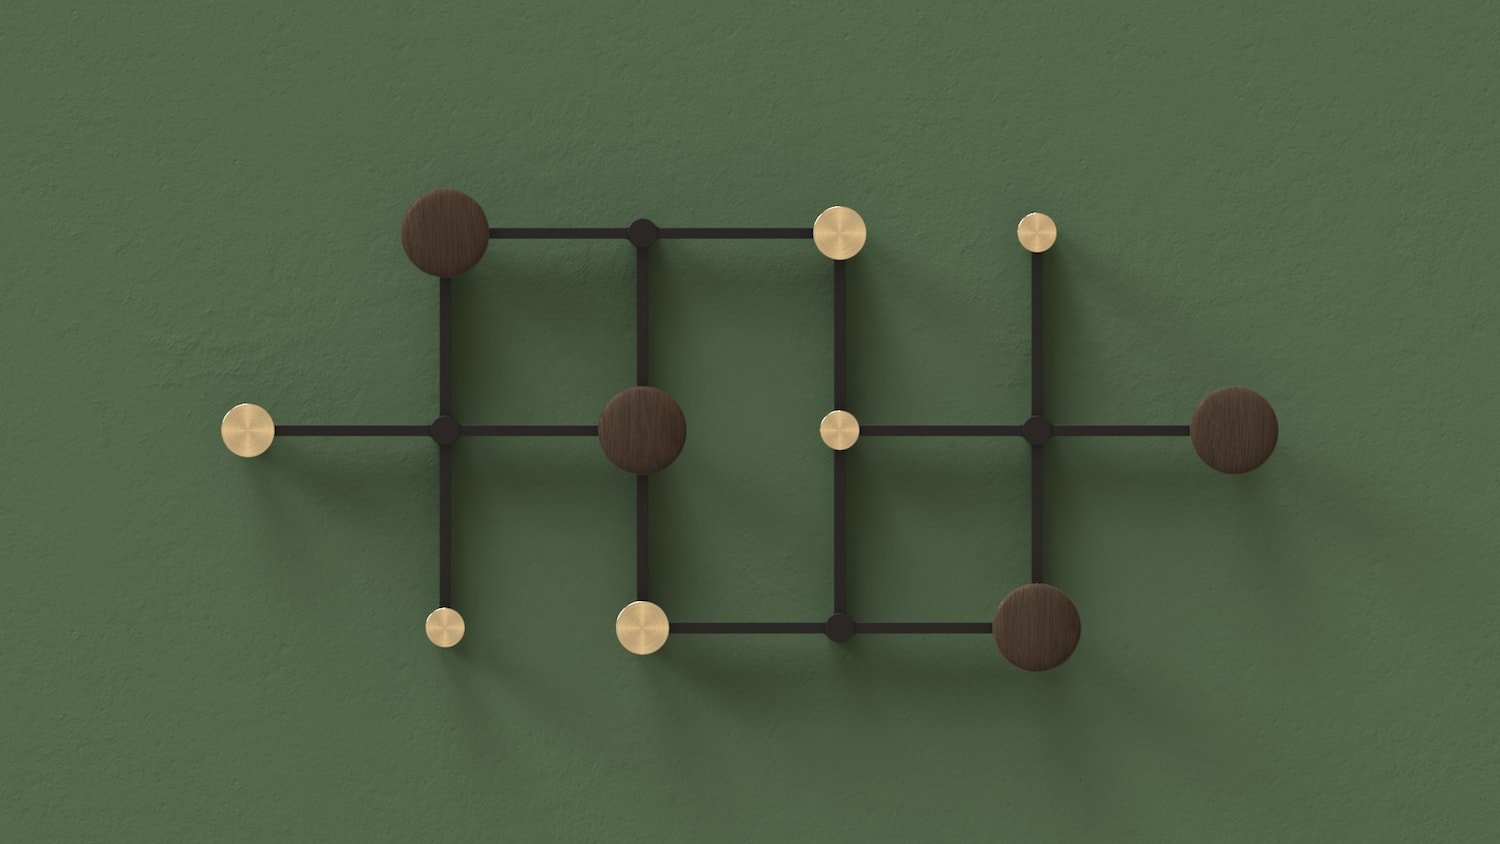
KNAX product (e.g., coat rack, shelf, hook)
Screws (included in the package)
Screwdriver (Phillips)
Drilling (6mm) and machine if hard wall (stone, concrete)
Level (optional, but recommended)
Pencil (to mark where to drill)
# Step 2: Decide on the Placement
Decide where you want to install your KNAX product. Make sure the wall is strong enough to support the weight of the product and any items you plan to hang on it.
Once you have decided on the placement, use a pencil and level to mark where you want to drill. Start with one hole, insert the screw through the front of the hook into the first hole. Use the level to mark the next hole.
# Step 3: Install the KNAX Product
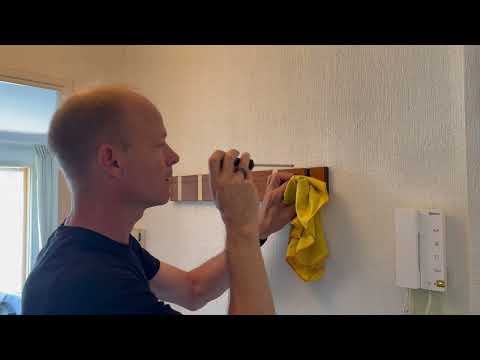
Using your screwdriver, screw the product onto the wall. Make sure the screws are tightly secured, but be careful not to strip the screw or damage the wall.
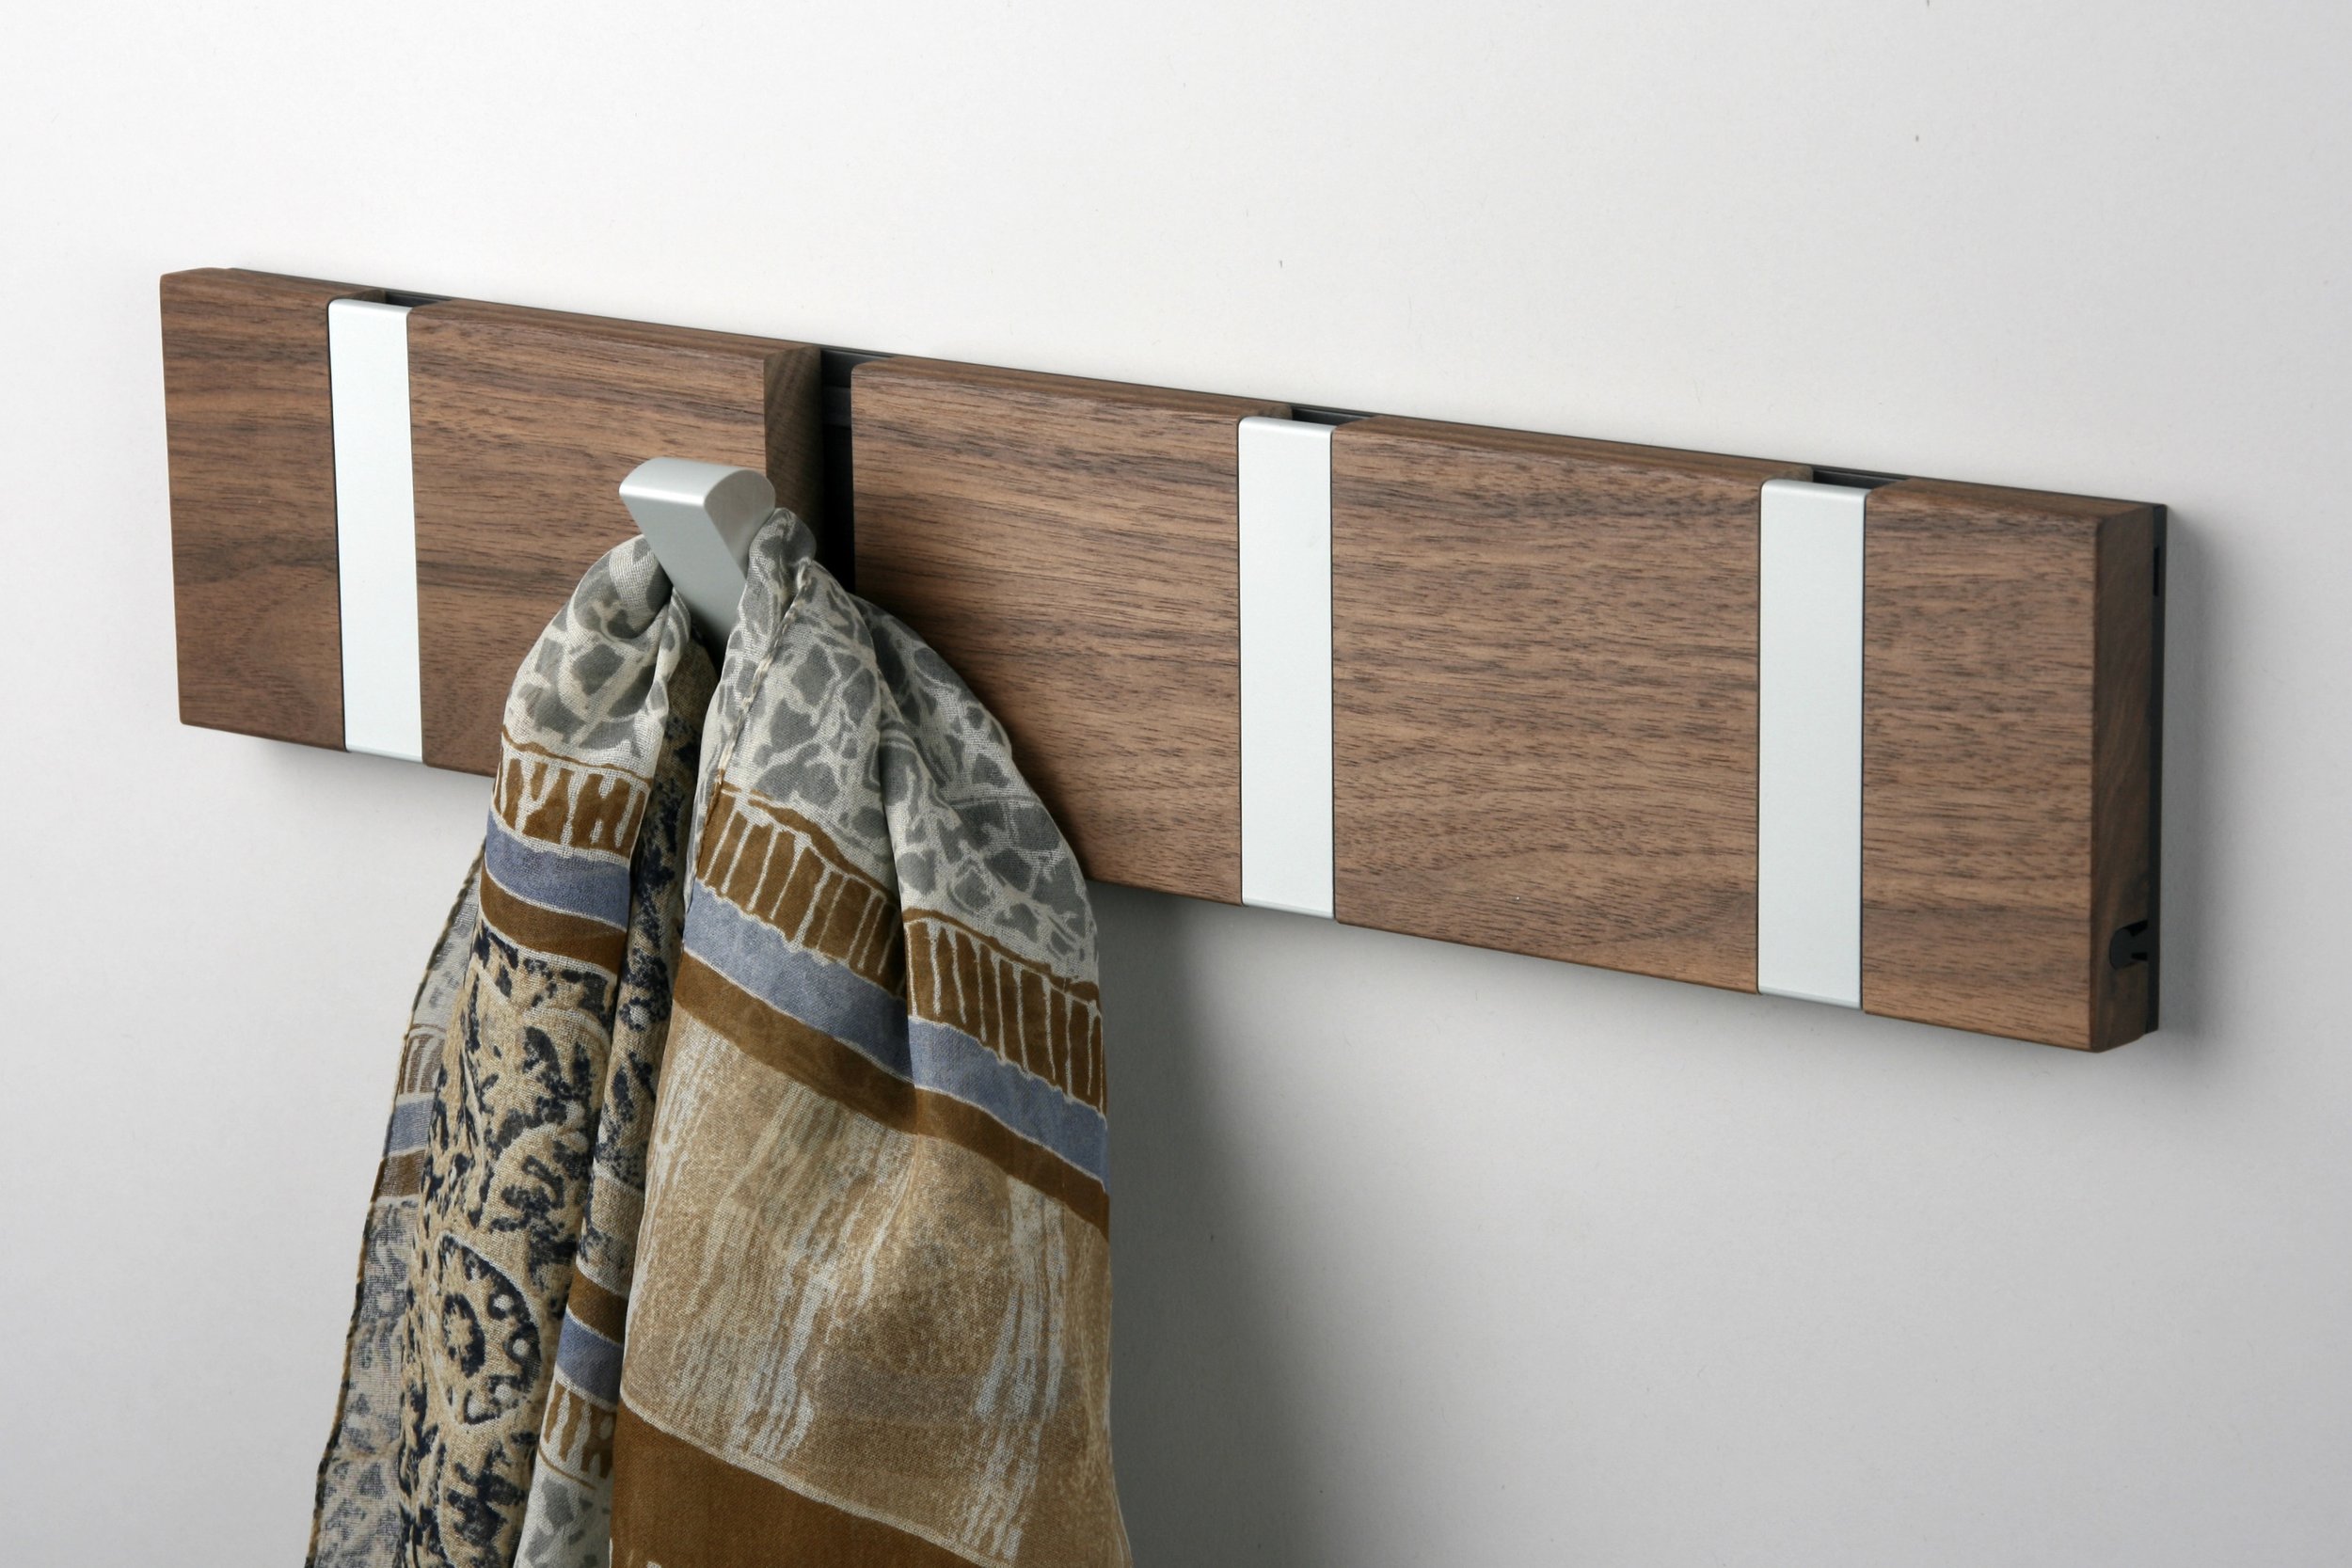
Place a soft cloth over the hook while inserting the screw to avoid scratching the hooks with the screwdriver.
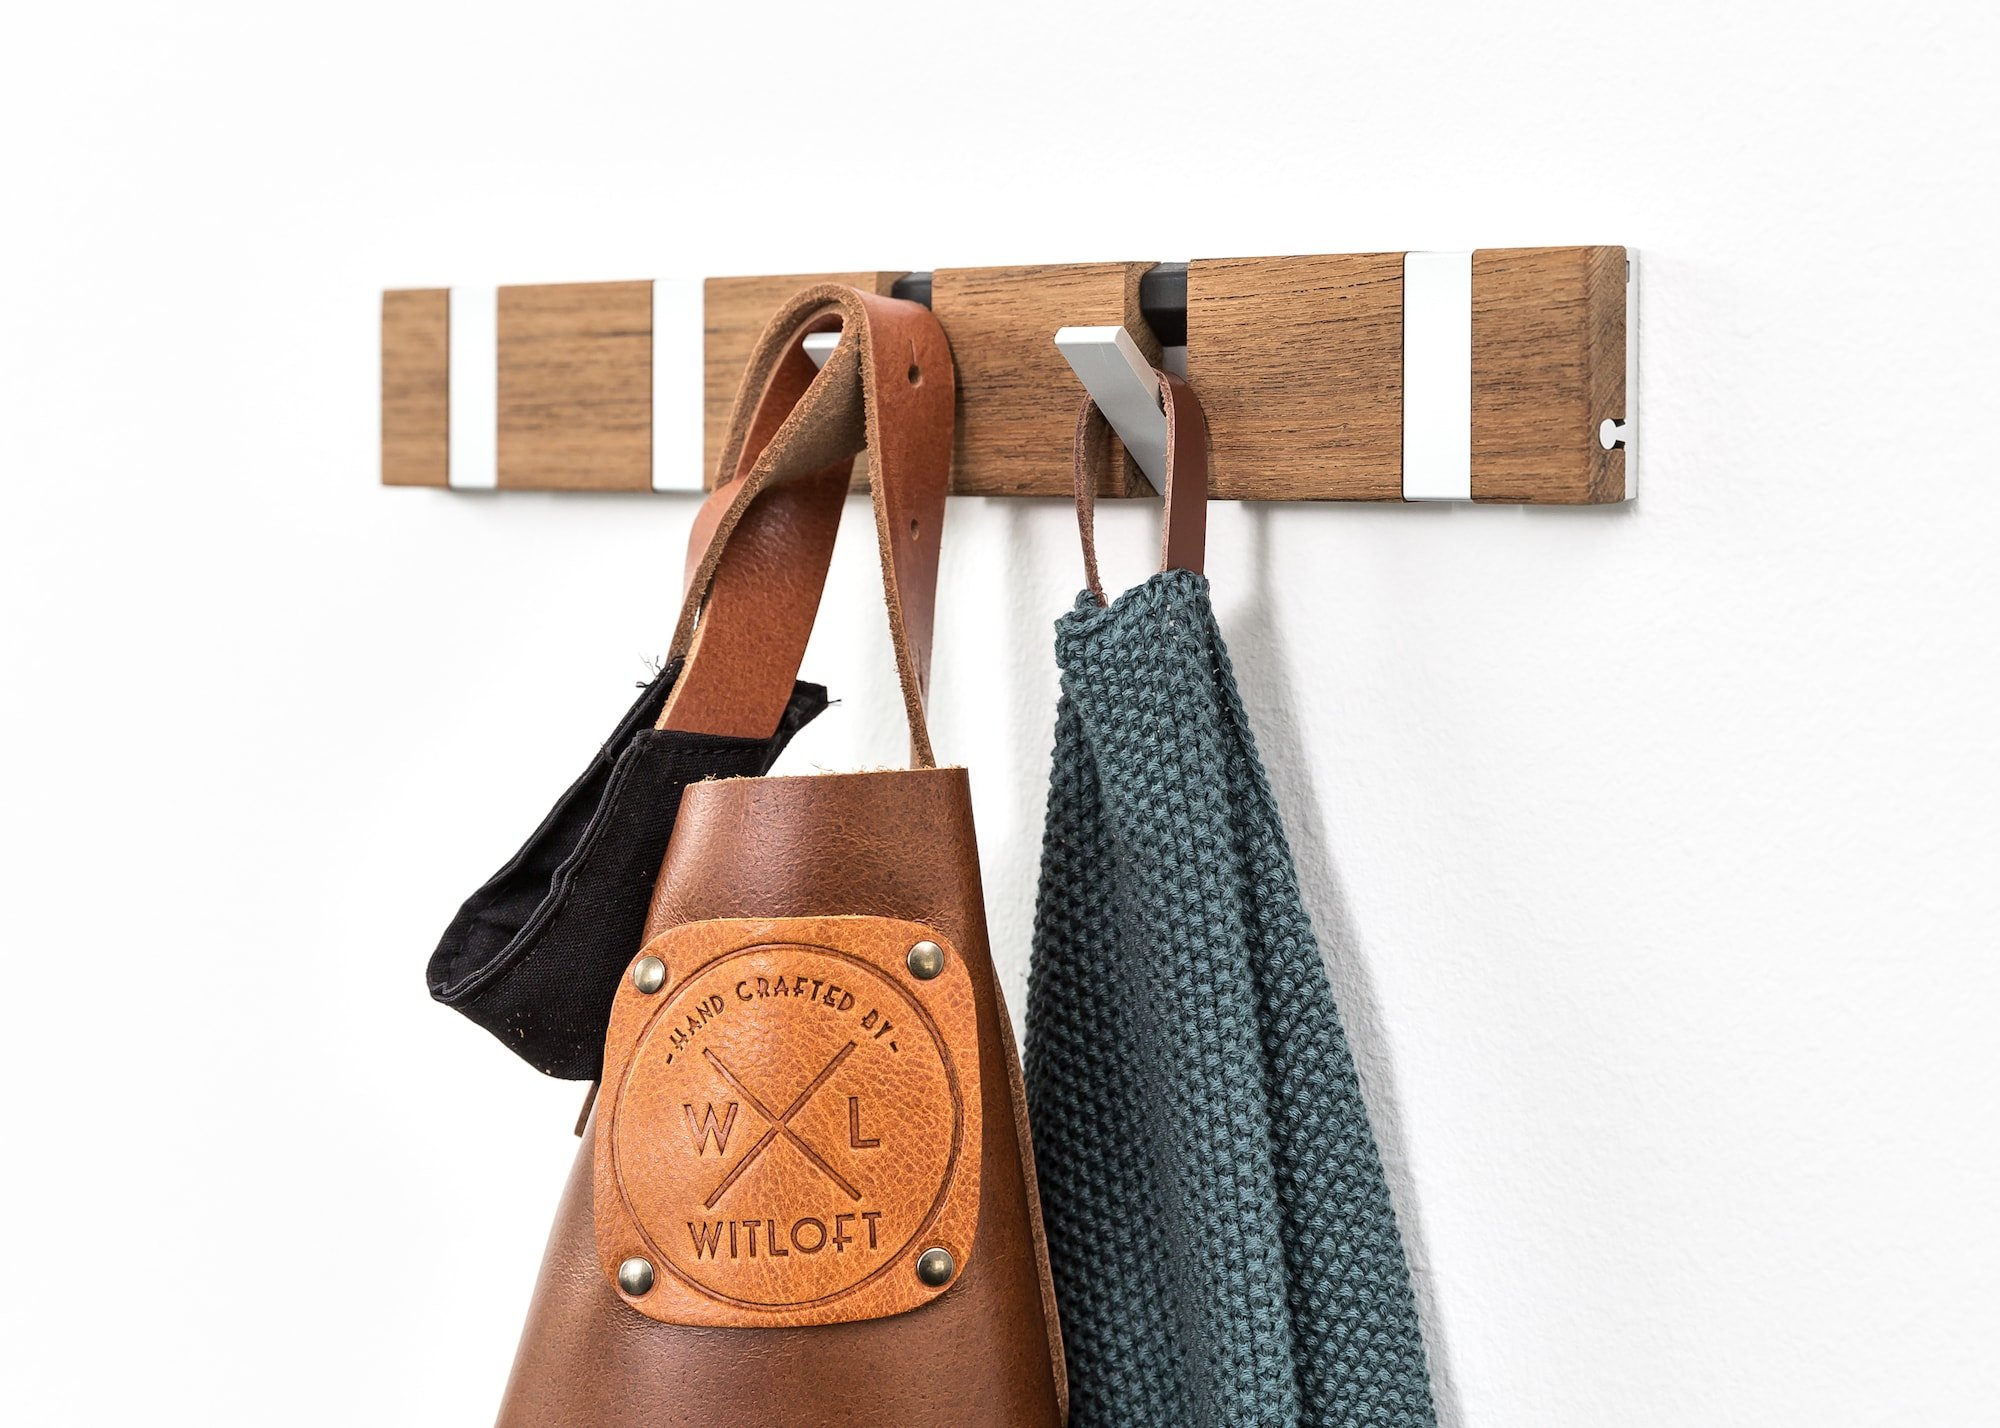
If you're installing a coat rack or shelf, make sure to install it at a height that is comfortable for you to reach and use. If you're installing a hook, make sure it is at the appropriate height for the item you plan to hang on it.
# Step 4: Enjoy Your KNAX Product!
Congratulations! You have successfully installed your KNAX product. Now, you can enjoy the added organization and style it brings to your home or office.
We hope this video has been helpful. For more information on KNAX products, please visit our website or contact us with any questions.

