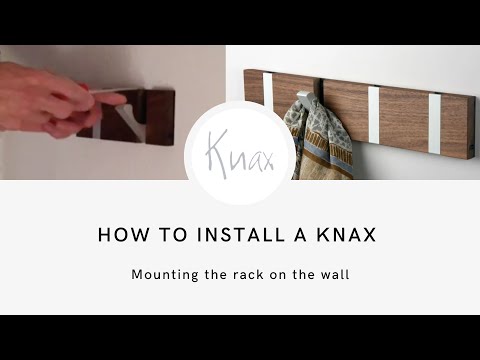
How to instal the KNAX Coat Rack on a Wall
KNAX Coat Rack Installation Instructions
Introduction
We understand the importance of a sturdy and reliable installation, which is why we'll walk you through the step-by-step process. By following our instructions, you'll be able to transform any wall into an organized and stylish space. Say goodbye to cluttered floors and hello to a functional and aesthetically pleasing addition to your home.
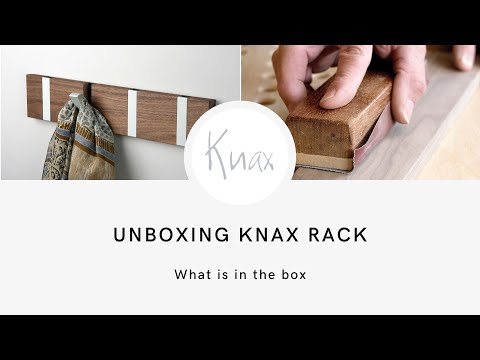
Tools and Materials
To get started, gather a few essential tools:
A trusty screwdriver
A 6mm drill for the perfect holes
A level to ensure straightness
A pencil to mark your measurements accurately
Instructions
Gather your tools and materials.
Mark the location of the rack on the wall.
Drill first pilot hole.
Screw the rack into place in the first pilot hole.
Put your level on top of the rack and mark the second pilot hole
Drill the second pilot hole.
Hang your coats and enjoy!
Tips
Make sure the wall is level before you start drilling.
Use a screwdriver that is the same size as the screws that come with the rack and fix it by hand (not drill machine).
Screw the rack into place firmly, but be careful not to overtighten the screws.
Put a soft cloth on the hooks to protect your hooks when fixing the screws into the wall.
Hang your coats and enjoy your new, organized space!
Note : Wall plugs and ankers for the different types of wall are not in the box with the coat rack. You find 2 black screws for 6mm plugs.